Import an image into your design background, including plot plans, house outlines, or easements.
Background Image
Using the Background Image feature, you may trace existing structures and shapes from a plot plan of your project. You may use printouts, sketches, blueprints, or any other graphic file as a background image. The image may be in the pdf., .bmp, .jpg, .png, .tga, or .tif graphic files formats.
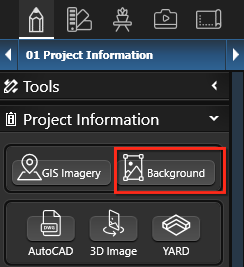
Insert Image: To insert a background image, go to Stage 1: Project Information, click Insert Background Image, and select the graphic file from your computer.
2D Viewport
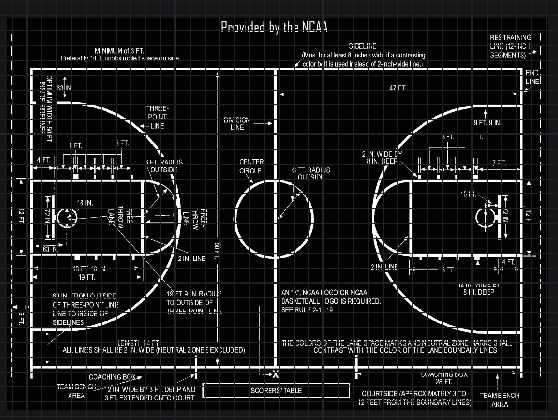
Your background image will now appear in the 2D viewport. At this point, there are a few additional background options that will assist you in bringing out the full potential of your drawing.
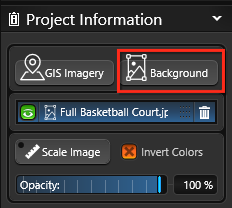
All of these options are available in the Panel under the Background button.
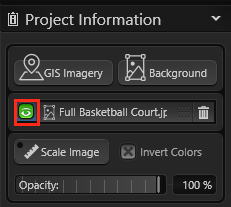
Important: To activate the background image controls, make sure your background layer is selected. The background layer will be highlighted in blue when it's selected.
Scale Image
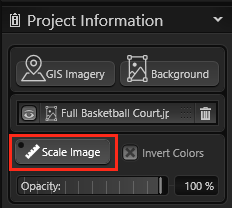
Scale Image: This option allows you to scale your image properly in Vip3D. Once you click on Scale Image there will be a ruler on your mouse cursor.
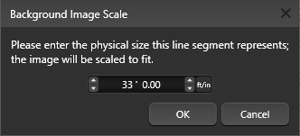
Now draw a known distance in your image. This can be any distance that you know, such as the length of the side of the house or a length of the property line.
After selecting two points on your background image, a box will appear, prompting you to enter the length. Vip3D will then automatically scale the entire image based on the known segment. To verify that the image has been properly scaled, you can use the measure guide to measure the known length.
NOTE: You must use Scale Image before you trace anything. If you do not scale your image first, everything you trace will be in the wrong scale.
Visible, Invert Colors, Remove or Adjust Image
 Display Image (Visible): Left-clicking this option allows you to display or hide the image. While you are working, you may wish to hide the image to see what you have traced. You may quickly hide or reveal the image by pressing Ctrl-B. If you wish to delete the image, use Remove Image.
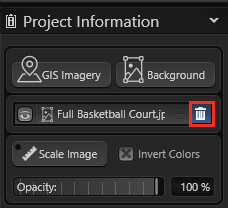
Remove Image (Trash Can): Once you load an image, it becomes attached to your project and is saved with your file. This can cause the size of your file to become very large. Once you are done with the background image, you may remove it with this option. Please Note: Do not remove your image until you are done working with it. It will be very difficult to properly place and scale your image again once removed.
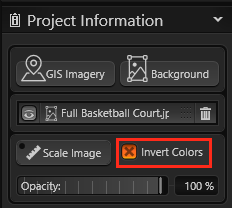 Invert Colors: Left-clicking this option will invert the colors of your image. This can be useful if your image has a white background, making the tracing process somewhat difficult. Choosing this option will change your white colors to black colors, making it much easier to see the lines you are drawing. If you are having trouble seeing the lines over your background image, try the Invert Color option.
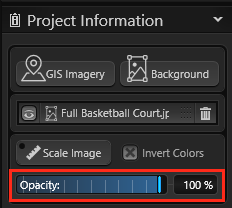
Opacity: This slider allows you to adjust the transparency of the background image. This can be useful when you also have a GIS image loaded and need to trace a plot plan.
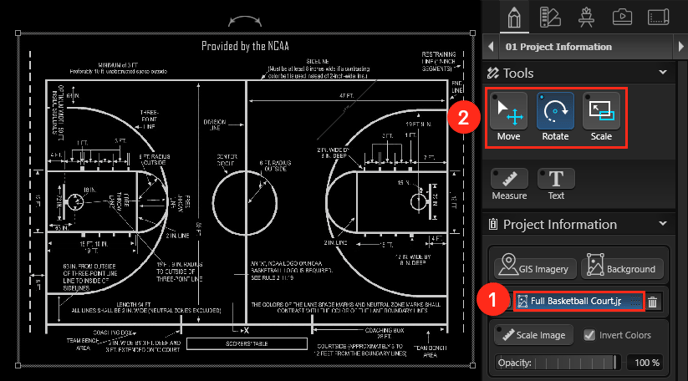
Adjust Background Image: Move, Rotate or Manually scale your background image. First (1) ensure your background layer is selected. When selected, the layer will be highlighted in blue. Once your background layer is selected (2) use the Move tool to move the image. Or the rotate tool to rotate the image. The image will move and rotate based on your snaps and constraints. Avoid manually scaling the images, as the results are inaccurate.
Add Up To Four Background Layers
 Add Background Layers: To include more background layers, click the background button once more. You can add up to four background layers to your project simultaneously.
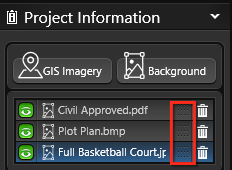 Change Layer Order: Mouse over the grip pattern located on the right side of the background image layer. Once your cursor transforms into the up-down arrow, simply click and drag the background layer to your preferred order.
Background Images in Construction
Background Images you have inserted will also appear in the Construction Stage. This is especially useful when a survey or plot plan must appear on a construction plan to meet permit requirements. All of the other features work exactly the same as in the design stages.
Please see the Construction Page Layout Stage for more information.