In this stage, use the drawing tools to create custom shaped planters and planter curbs for your project.
Stage Options
Planters must be placed correctly to show up properly in 3D. A planter may be drawn inside another shape, but it is important that the line of the planter does not cross the line of the other shape. This may cause the planter to show up incorrectly in 3D or not show up at all.
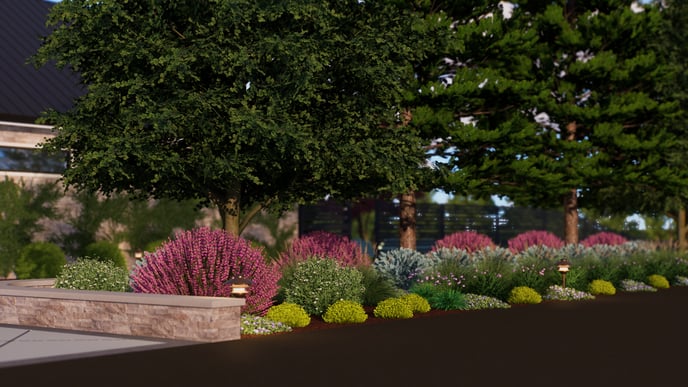
 Height: The height box allows you to set the height of the planter. If you set a positive value, the planter will rise up from the surface. When set to a negative value the planter will cut into the surface underneath it.
Height Label: By default, the height of the planter is displayed. Uncheck this option to hide this label in the 2D view and in Construction.
Follow Terrain: By default, the planter follows the slope of the terrain. When Off, the planter will cut through the terrain and create a level surface.
Add Planter Curb
To add a curb to the planter, select the planter to activate the Insert Curb button.
Insert Curb: Left-click the Insert Curb button. The curb will automatically snap to the edge of the planter. The curb will conform to the shape of the planter, bending around corners and curving around arcs.
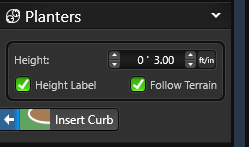
Once the curb is placed, you can customize it with the curb options below.
Length: This control will set the length of the curb.
Width: This control will set the width of the curb.
Sunken: This control will set how far the curb is sunken into the ground.
Profile: This button will open the library to Planter Curb Profiles. To apply a curb, left click the Insert One button or double left click on the Curb Profile name or preview picture.
To remove the profile, press the “X” button
Curb Presets in Library
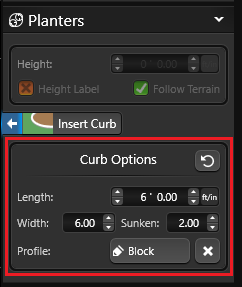
In the Library, you can quickly apply customizable presets of many popular curb styles.
Add a check-mark to the Planters Category to see the Curb Profiles List and preview picture of each available preset.
To apply a preset to your curb, left click the Insert One button or double left click on the preset name or preview picture.
You can also save custom curb profiles as presets for future use.
First draw the new profile in the Custom Shapes Stage and then save it to the Planters Curb Profiles Category in the Library.
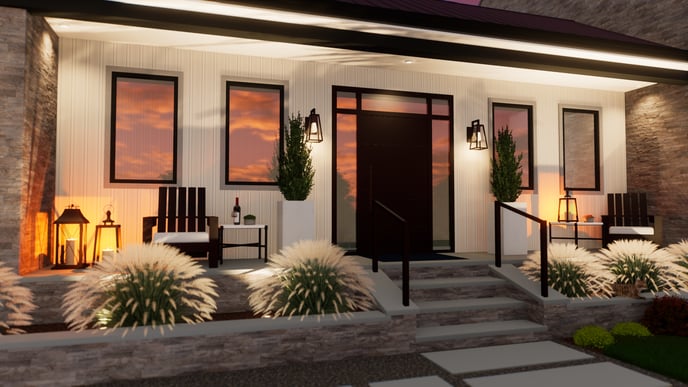
Raised Planters
Raised planters may be created by combining shapes drawn in the Hardscapes and Planters Stages.
To create a raised planter, first draw the shape in the Hardscapes Stage and sent the height of the raised planter in the Panel.
Next go to the Planters Stage and draw the planter shape inside the deck/hardscape shape. Use the Outline Tool to outline the hardscape.
Once your planter shape is complete, set a height under Stage Options. This will determine how much the planter cuts into the raised shape.
NOTE: The planter shape should be completely inside the hardscape shape. The lines of the two shapes should not touch or overlap.
Planter Material
Change the material of your planter to dirt, rocks, mulch, or other options in the Materials Stage.
Mulch and Planter Fill
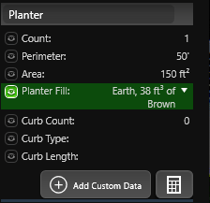
To calculate Mulch or Planter fill, select a planter and choose Smart Data.
Planter Fill volume assumes a 3" mulch depth.