Snap a picture and add your creation. The software allows you to insert traditional 2D photos into your 3D design and create the perfect look set against the background of your client’s actual space.
See your Photos in 3D in the software. Using the 3D Image feature, import photos into your project. The image may be in the .jpg or .png graphic file formats.

Insert 3D Image: To insert a 3D image, go to Stage 1: Project Information, click Insert 3D Image, and select the .jpg or .png file from your computer.
Your photo will now appear in the 3D viewport. Left-click to place it. 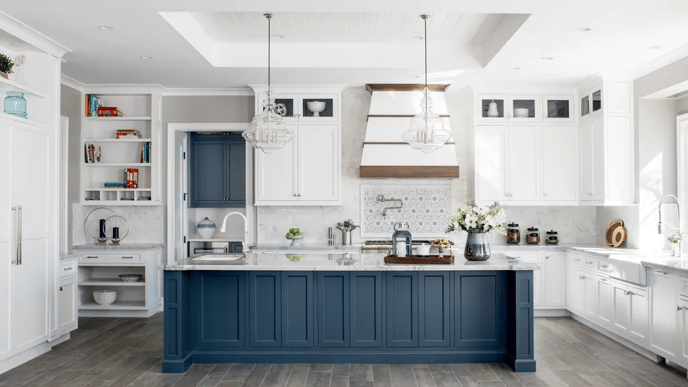
Crop and Scale
The image options that will assist you in bringing out the full potential of your design.
To crop the image, hold down the left mouse button and drag the grab handles on the top, bottom, and sides of the image to crop it
The bottom of the image inserts level with the ground. If you crop the bottom, check Auto Elevation to re-position the image on the ground.
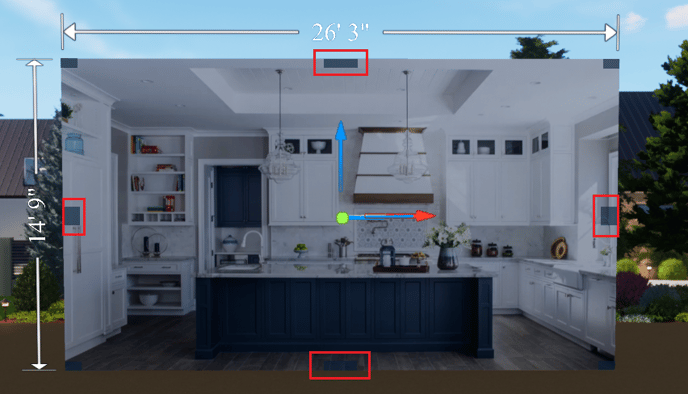
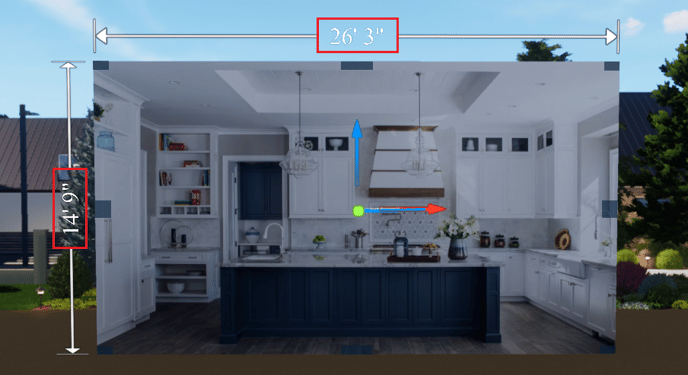
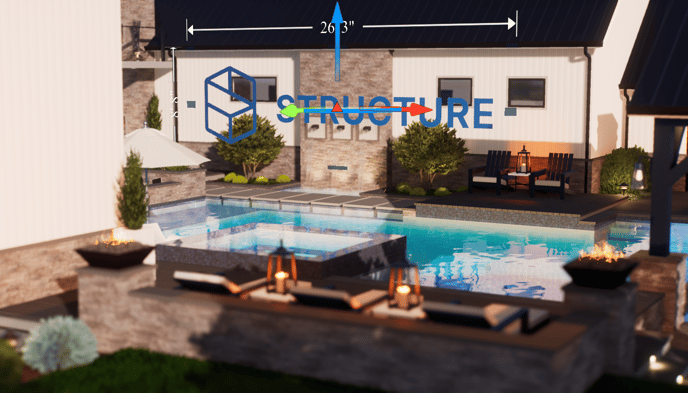
Use the Scale tool and 3D Gizmo to set a known distance in your image. For example, we measured this kitchen width was 26 ft 3 in. We will use the Scale Tool to set this width.
TIP: Scale the image before you begin designing, to avoid designing in the wrong scale.
Once the image is the correct size, place it in your project.
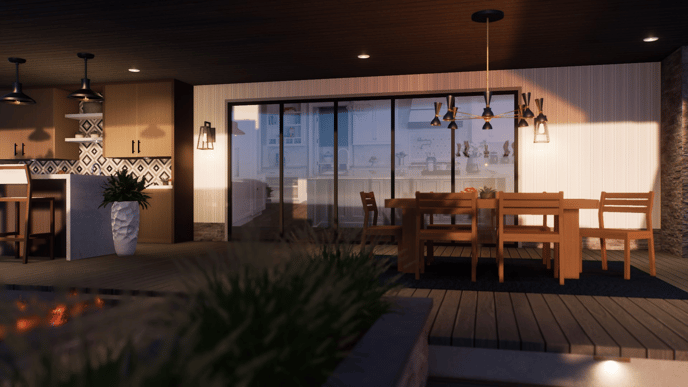
Add Your Logo
You can also insert 2D photos into your 3D design to add your logo, artwork, or a custom design element.
Rotate
Once the photo is placed in the 3D viewport, we may use the Rotate Tool and 3D Gizmo to rotate the image into any position.

The image will rotate on the red and green arrows based on your Angle Snap settings.
Select the image, move the cursor over the arrow, click and hold the left mouse button, and drag the mouse to rotate the object.
Release the left mouse button to complete the action.